How to set up your personal WireGuard VPN server
Installing and configuring a personal WireGuard server can be done with just a few commands thanks to the WG-Easy project. This project is based on Docker technology and deploys in a few seconds. WG-Easy VPN server is not demanding on server resources, and therefore can be deployed on a VPS (VPS configuration depends on the planned number of users). Introserv d.o.o. offers a wide range of VPS at low prices in 9 locations on 4 continents, which is especially important for setting up private VPN servers. The Docker server image is configured by default to be used with both IPv4 and IPv6 subnets.
Installation process on Linux OS server
1. Connect to the server via SSH
2. Install Docker Engine:
curl -sSL https://get.docker.com | sh
3. Add your user to the Docker group:
sudo usermod -aG docker $(whoami)
4. Launch a docker container with one command. The standard command looks like this:
docker run -d --name=wg-easy -e WG_HOST=YOUR_SERVER_IP -e PASSWORD=YOUR_ADMIN_PASSWORD -v ~/.wg-easy:/etc/wireguard -p 51820:51820/udp -p 51821:51821/tcp --cap-add=NET_ADMIN --cap-add=SYS_MODULE --sysctl="net.ipv4.conf.all.src_valid_mark=1" --sysctl="net.ipv4.ip_forward=1" --restart unless-stopped weejewel/wg-easy
Important! Before you run the command you need to replace a few variables. Below we provide a description of the parameters that you need to replace with your own values:
“WG_HOST=” specify the IP address of your server instead of the value “YOUR_SERVER_IP”
“PASSWORD=” specify the password that will be used to log into the web panel instead of the value “YOUR_ADMIN_PASSWORD”
Optional. By default, the “Allowed ip” parameter is set to 0.0.0.0/0 - this means that all traffic of the connected client will pass through the VPN server. If necessary, this parameter can be adjusted in the loaded configuration on the client application side.
If there is a need to change the connection port to the WireGuard server, then the command will look different. The -e WG_PORT=PORT_NUMBER option will be added, and there will also be a change in the port forwarding option to the container. Example command with changed port:
docker run -d --name=wg-easy -e WG_HOST=YOUR_SERVER_IP -e PASSWORD=YOUR_ADMIN_PASSWORD -e WG_PORT=2345 -v ~/.wg-easy:/etc/wireguard -p 2345:51820/udp -p 51821:51821/tcp --cap-add=NET_ADMIN --cap-add=SYS_MODULE --sysctl="net.ipv4.conf.all.src_valid_mark=1" --sysctl="net.ipv4.ip_forward=1" --restart unless-stopped weejewel/wg-easy
5. After starting the container, follow the link in your browser - YOUR_SERVER_IP:51821 and you will see a form for entering a password.
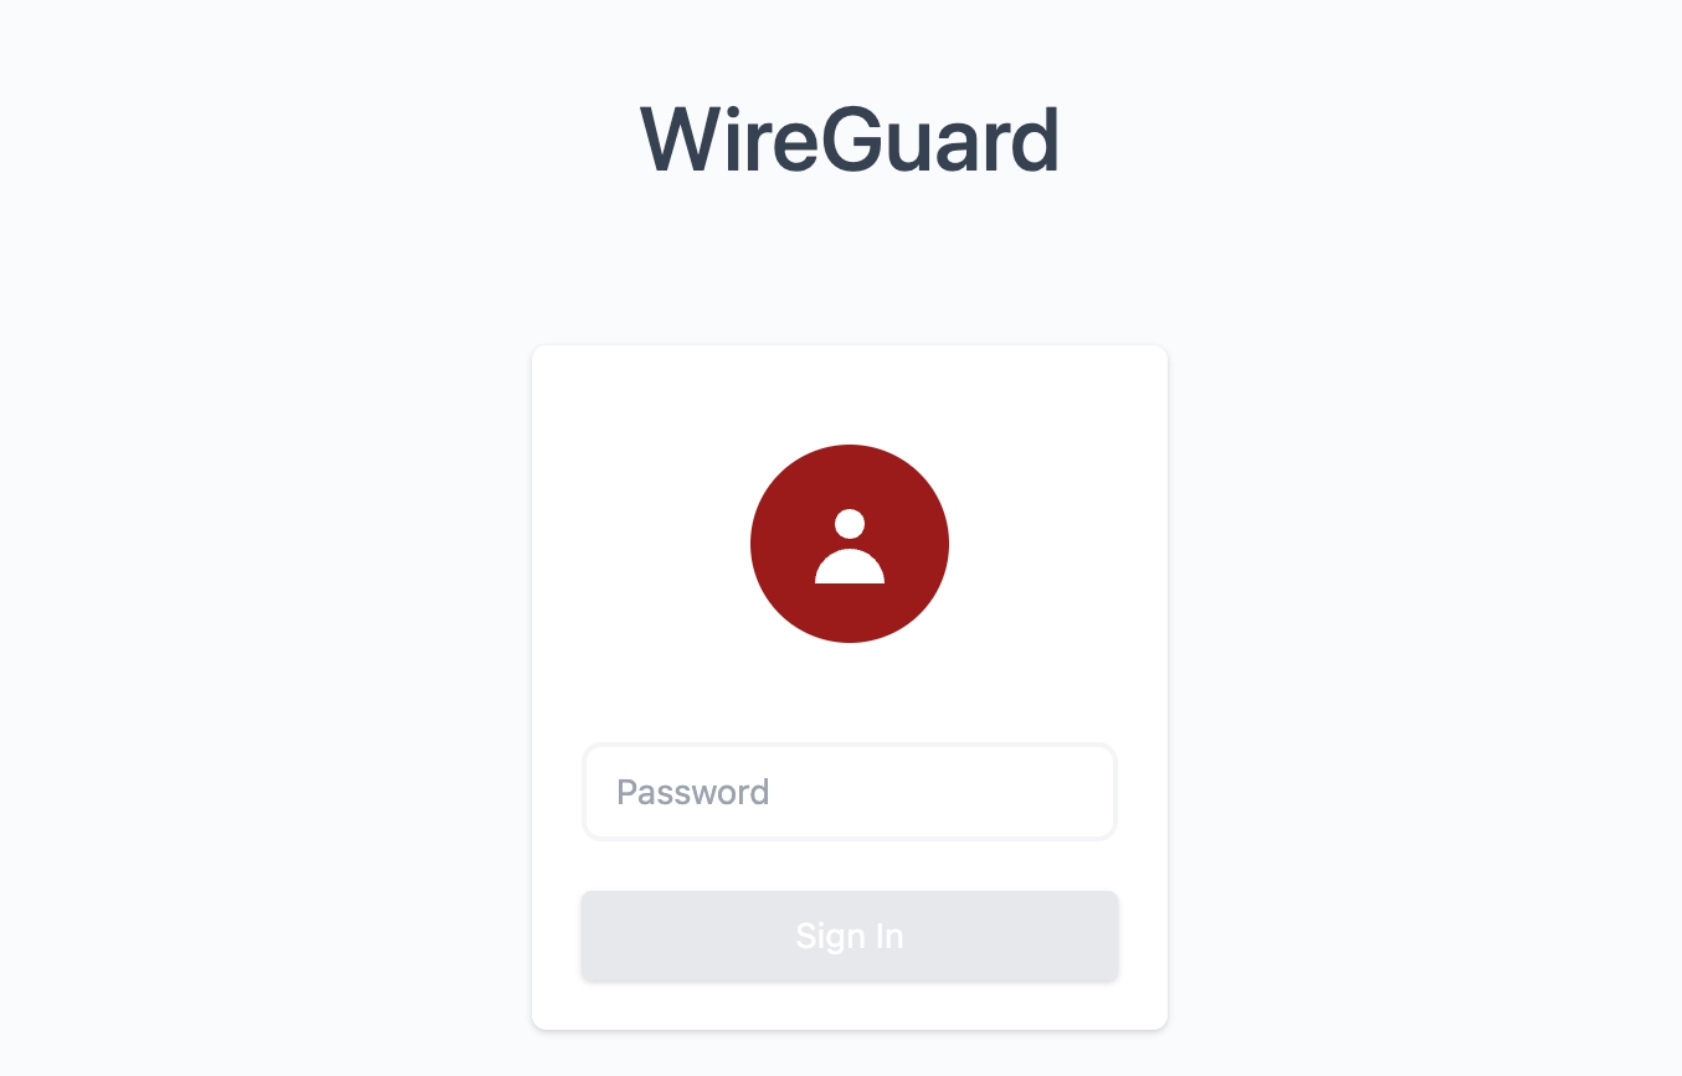
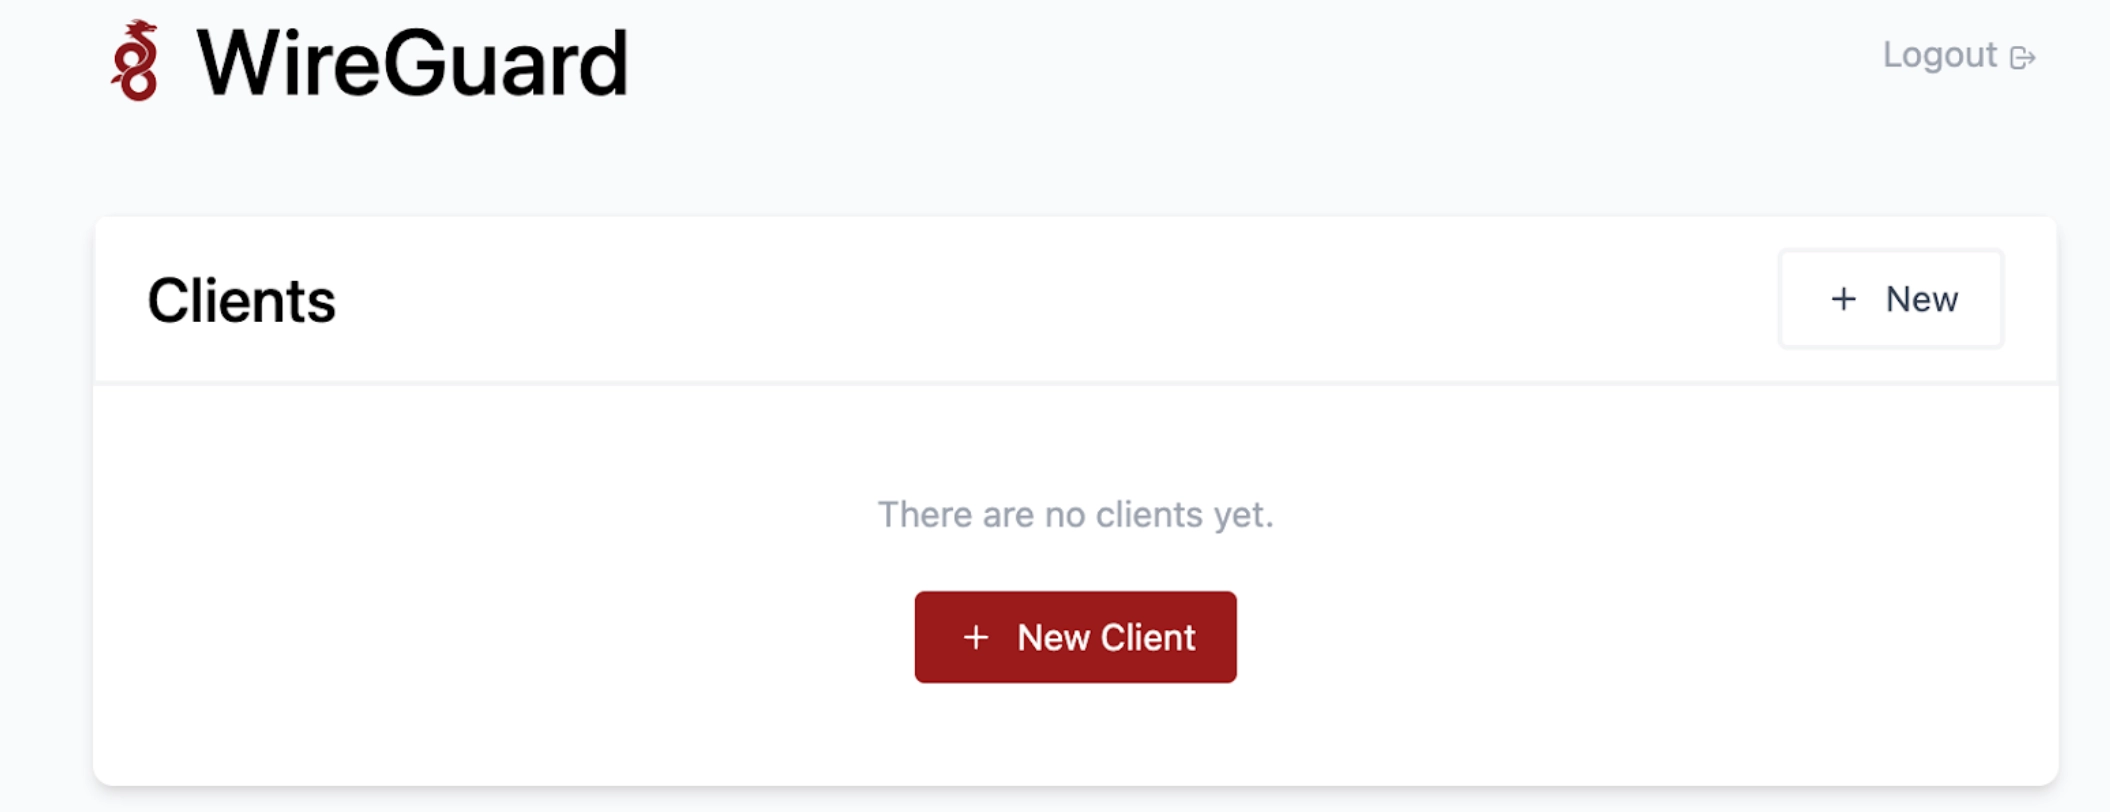
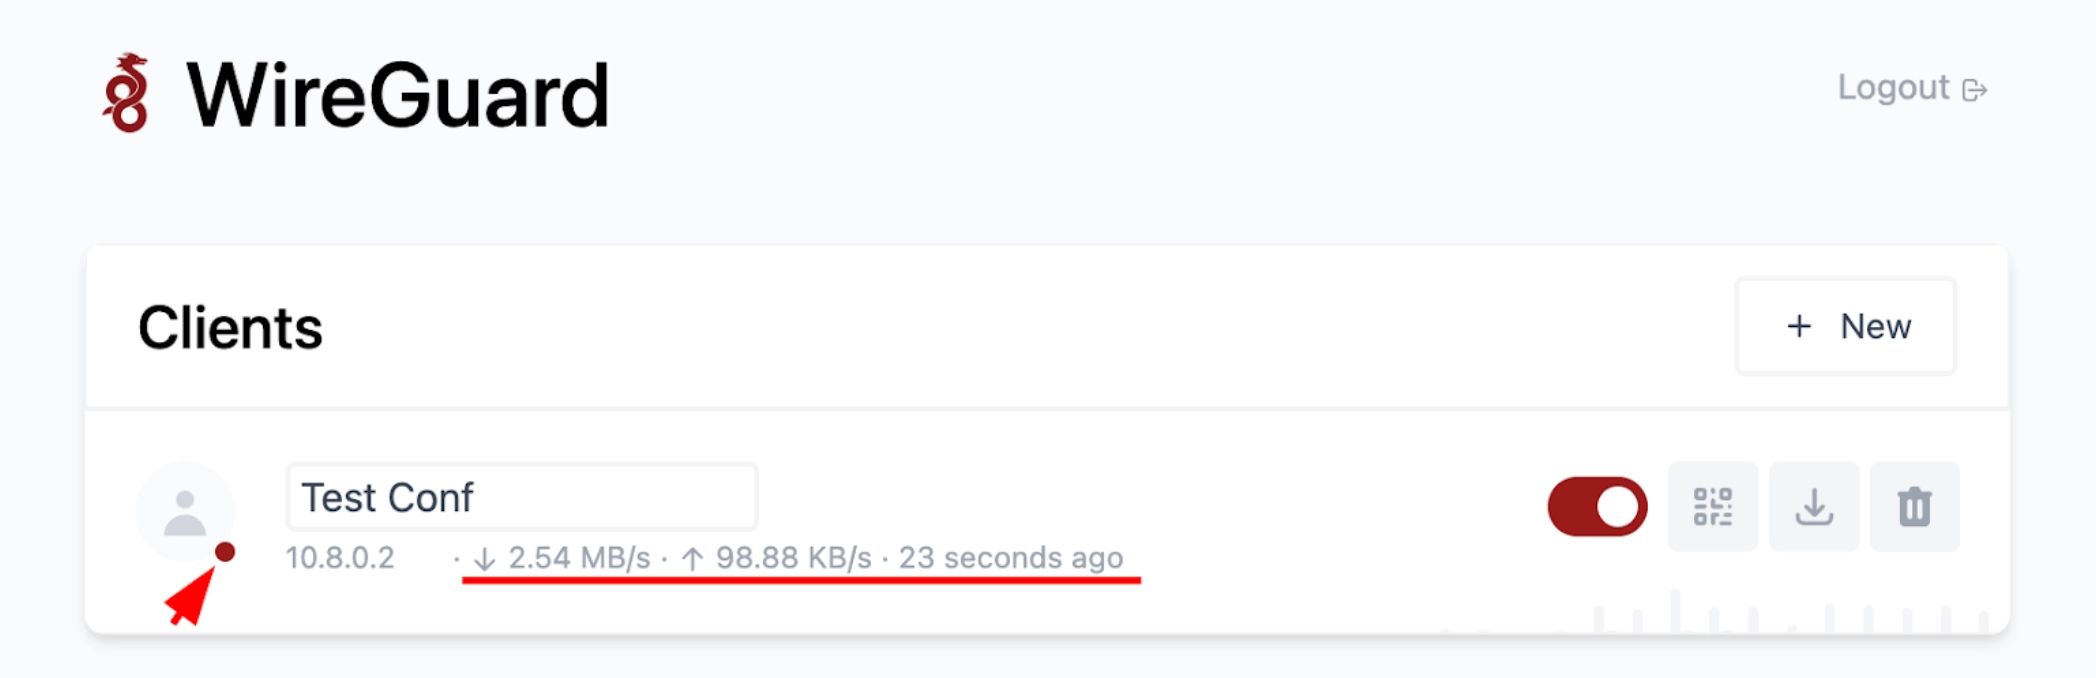
6. Enter your password and you will be taken to the main server management page. On the main page you have access to convenient creation of client configurations.
These configurations can be downloaded as a file for later import in the client application.
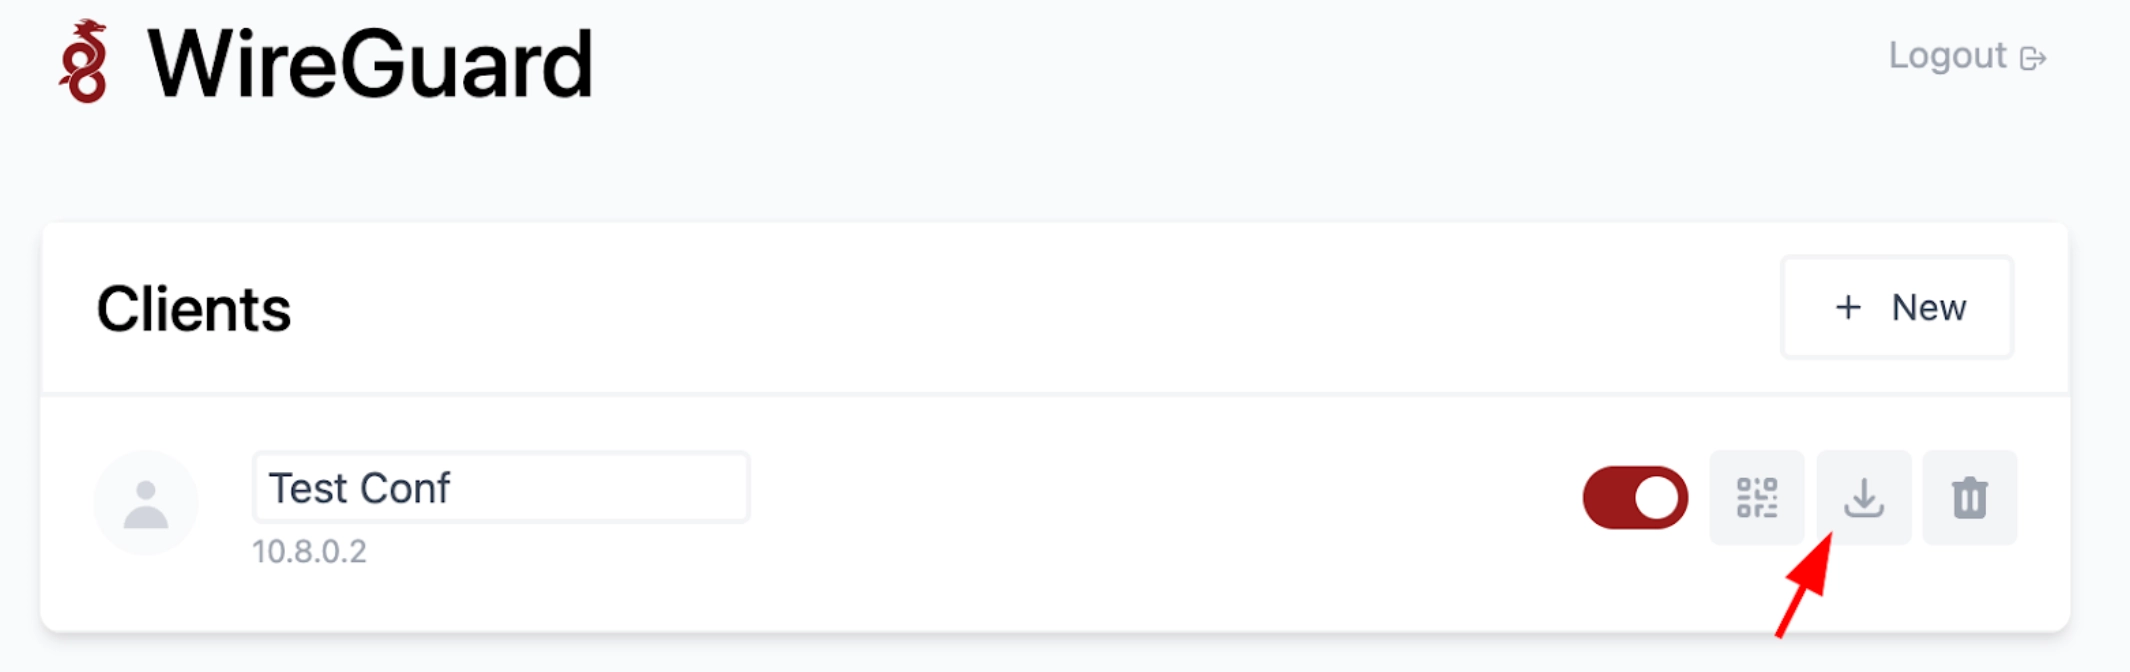
Or the configuration can be applied to a mobile device with a camera by scanning a QR code
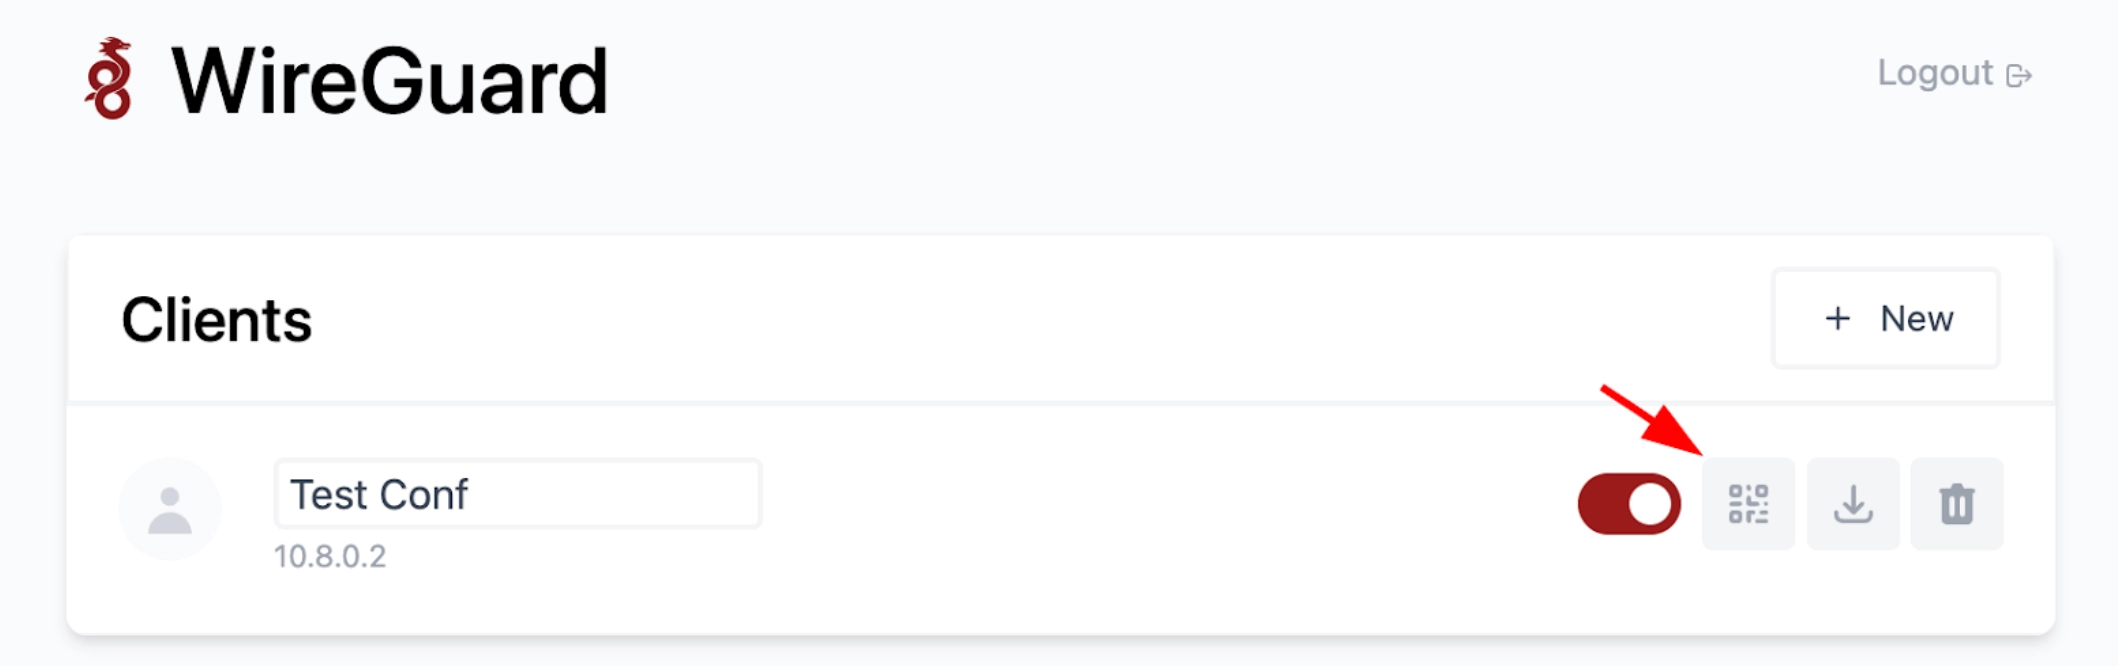
When the client is connected to the server, activity will be visible in the form of a red marker, as well as the intensity of traffic consumption
To stop the container with the VPN server, run the command:
docker stop wg-easy
To remove a container with a VPN server, run the command:
docker rm wg-easy


