Change Windows Server RDP Port
Changing the port is necessary because leaving the default makes it easier for potential attackers to find opportunities to connect to the server. First you need to open the port.
You can open the port from the command line. Important! In the command below, instead of NEW_PORT, enter the number of the port you want to replace the default RDP port with.
netsh advfirewall firewall add rule name="Custom RDP Port" dir=in action=allow protocol=TCP localport=NEW_PORT
or in another way:
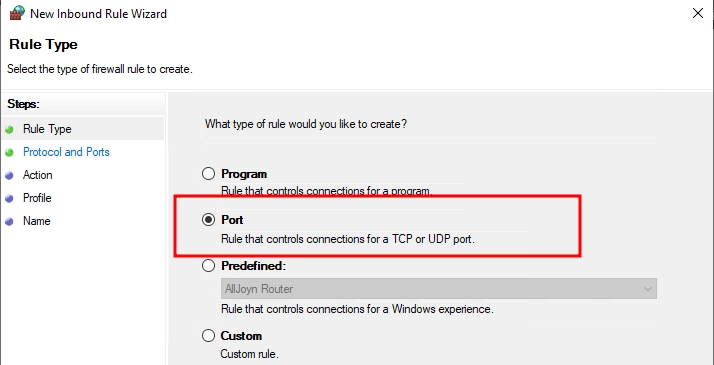
Then go to "Control Panel" - "Windows Firewall" - "Advanced Options"

In the window that appears, select "New rule"

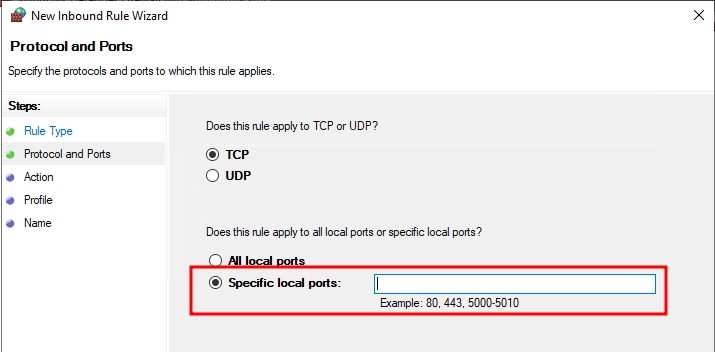
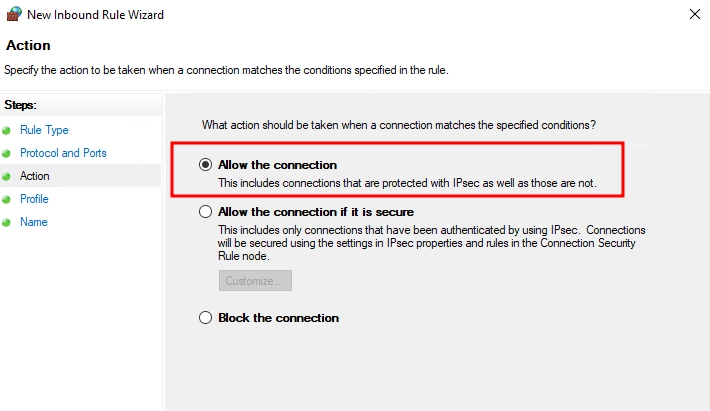
Next, we indicate the port that you specified in paragraph 3, the rule that will be applied to connections to this port, network types (only local, or external too) and the name for the rule.
Change port
Open the registry editor, for this press Win + R and type regedit

Open the branch
HKEY_LOCAL_MACHINE \ System \ CurrentControlSet \ Control \ TerminalServer \ WinStations \ RDP-Tcp
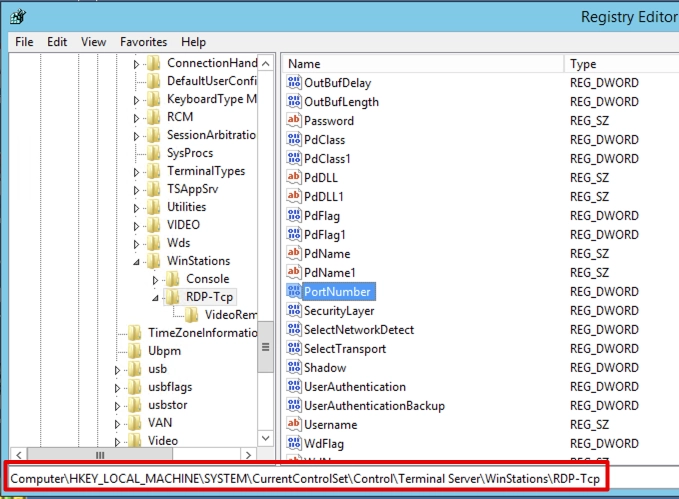
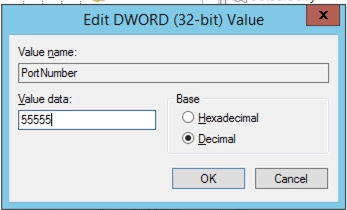
Select the PortNumber parameter, select Decimal and change the value for it to the number of the port that you plan to use, for example, 55555 (by default 3389)
