MTR test on Mac OS
There is no standard MTR application package available for Mac OS, but it can be installed from a third-party repository using the Homebrew package manager.
1. Open the console, paste the Homebrew installation command and wait for the installation to complete (if you already have this package manager installed, go to the second step):
/usr/bin/ruby -e "$(curl -fsSL https://raw.githubusercontent.com/Homebrew/install/master/install)"
2. Install the MTR package
brew install mtr
3. Wait for the installation to complete and go to the folder with the utility to check its version
cd /usr/local/Cellar/mtr/ | ls -a
The result of the command shows the version of the installed package:

4. Go to the folder with your version of the utility with the command, specifying your software version:
cd /usr/local/Cellar/mtr/0.95/sbin
5. Make the command available from the console:
sudo cp mtr /usr/local/bin && sudo cp mtr-packet /usr/local/bin/
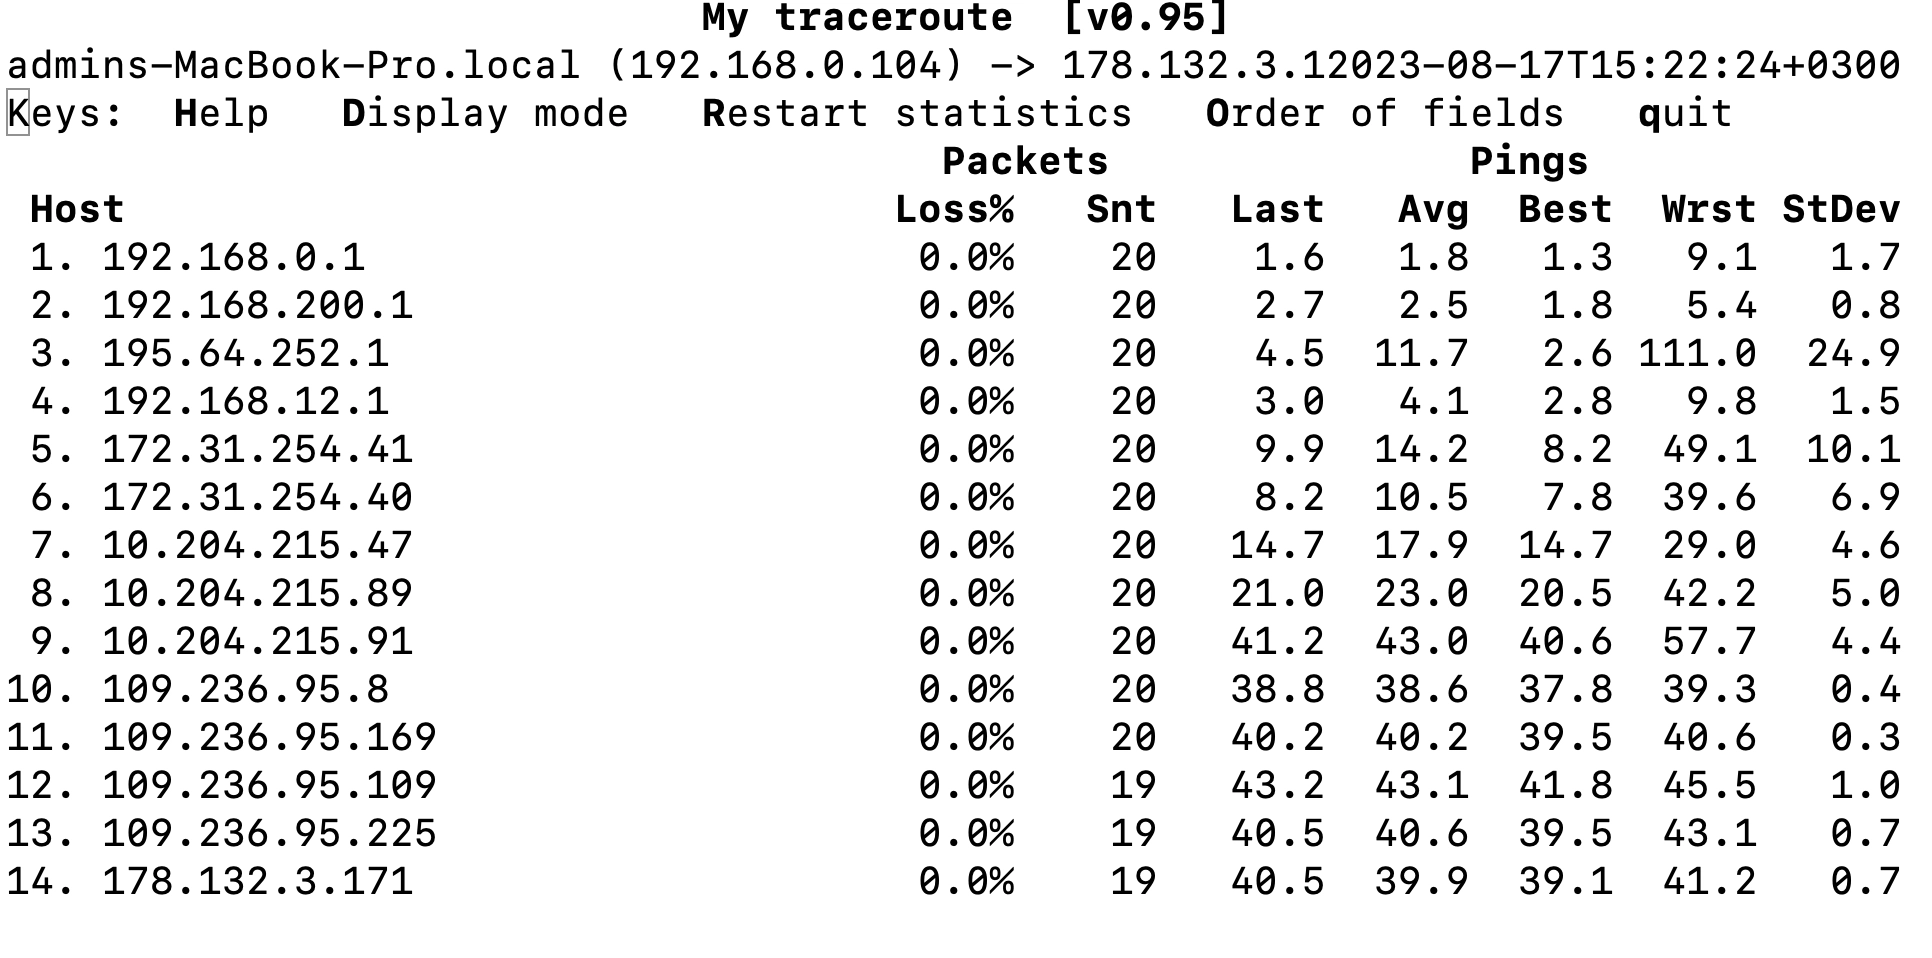
6. Everything is ready to use the MTR utility. Run the test with a command like this: sudo mtr ip_address -c 1000 As a rule, in order to objectively evaluate the link and the percentage of packet loss, it is necessary to execute 1000 requests (-c 1000 in the command example is a parameter indicating the number of requests). You can also use a domain name instead of an IP address. Below is a command, an example of a test to our server in the Netherlands DC:
sudo mtr 178.132.3.171 -c1000
You will see the result of the command execution in the console, you can take a screenshot during the test:


