Windows server 2019 disabling DHCP
This instruction is useful for ESXI virtual machines that have the IP address of the real machine.
A situation is possible when the machine, after starting, automatically receives an address from the 169. *. *. * This address ultimately prevents the machine from connecting to the network, while the manually set address is ignored. You can see this situation in the screenshot.

In order to correct this situation, it is necessary to disable DHCP address acquisition option on the server.
To do this, you need to start the command line and type the following command.
ipconfig /all
In the output, note the following lines:
  Autoconfiguration IPv4 Address. . : 169.254.248.201(Preferred)
Subnet Mask . . . . . . . . . . . : 255.255.0.0
IPv4 Address. . . . . . . . . . . : 192.168.1.136(Duplicate)
As you can see, the preferred address is 169.254.248.201, with which the connection will fail.
Please, enter the following command:
netsh interface ipv4 show inter
The output will show a list of active system interfaces:
  Idx Met MTU State Name

--- ---------- ---------- ------------ ---------------------------

1 75 4294967295 connected Loopback Pseudo-Interface 1

2 1 1500 disconnected VPN - VPN Client

12 25 1500 connected Ethernet 2
The latter is the index of the interface that is connected to the network. Further, we will indicate that index as a preferable one for the system.
netsh interface ipv4 set interface 12 dadtransmits=0 store=persistent
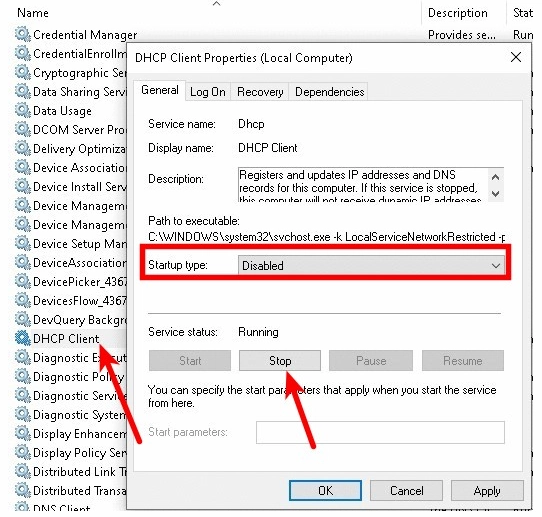
Instead of 12, you may have a different number. Next, go to "Control Panel - Administrative Tools - Services" and disable the autostart of the DHCP service.


